This weekend we finally got around to building two more raised beds for the garden. To give you a little idea of what my garden previously looked like, here’s a picture from last summer…

I enjoyed having a garden so much that my husband built two more beds for me this year. And in plenty of time for planting!
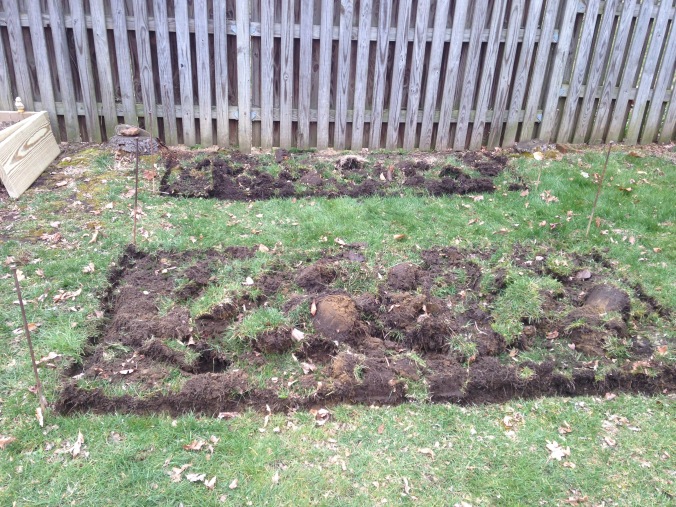
First we needed to stake out and dig our plots. The ground was fairly soft from a few previously wet days and fairly easy to work. The plot nearest the fence is 3 x 8ft, while the plot in the foreground is 4 x 8ft. The smaller plot was a bit more tricky to dig. See that tree stump to the left? It may look small but that thing had some serious roots we needed to chop up a bit to make room for the bed frame. But the beauty of a raised bed is that since your garden will be above ground, it’s not the end of the world if you have a thick root system running under your bed (at least not in my experience!).
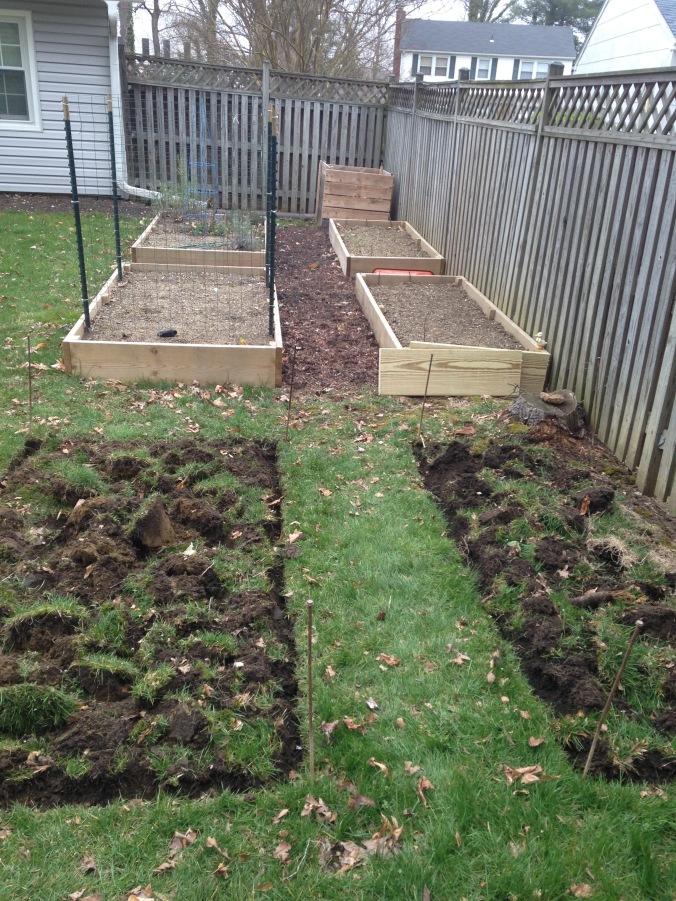
And here’s the full view of the new plots with the previously existing beds. On the right are two 3 x 8ft beds and on left we have two 4 x 8ft beds. The beds nearest the fence need to have a shorter width since they are accessible on only three sides. A 4ft bed is just too difficult to reach across if you can’t walk all the way around it. To the back right we also have a compost bin.
Here’s what we bought to build the beds. We had several of the pieces cut down at Home Depot in order to fit in our car, and then Frank made the subsequent cuts at home.
- Five 2 x 12 x 8ft boards. Most instructions recommend 8ft boards, but we discovered that boards of that size do not fit well in our CRV. Last year we actually rented a pickup to haul wood, but that seemed excessive for only two beds. Instead, we bought five 2 x 12 x 8ft pieces of wood and had each piece cut in half.
- One 2 x 12 x 12ft piece. We had this cut into two 3ft pieces and one 6ft piece.
- Two 2 x 4 x 12ft pieces, each cut in half
- One box of outdoor 3in screws


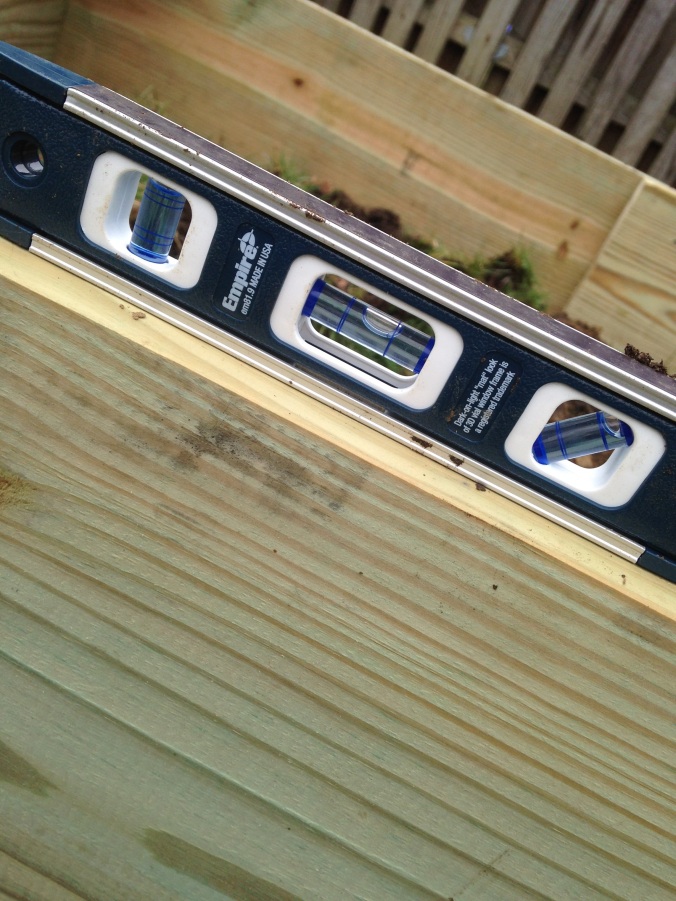
This year we were working with a new level, fewer frames and better weather so it wasn’t quite so painful. Our bed site was on a slight incline in our back yard, so we needed to be sure and accommodate that, however all in all we were able to get our frames level without too much struggle. After leveling, be sure to pack dirt into any gaps between the frame and the earth. The entire base of the frame should be touching ground.


